Easy Sauce Recipes is an Amazon Associate and may receive compensation for purchases made through affiliate links.
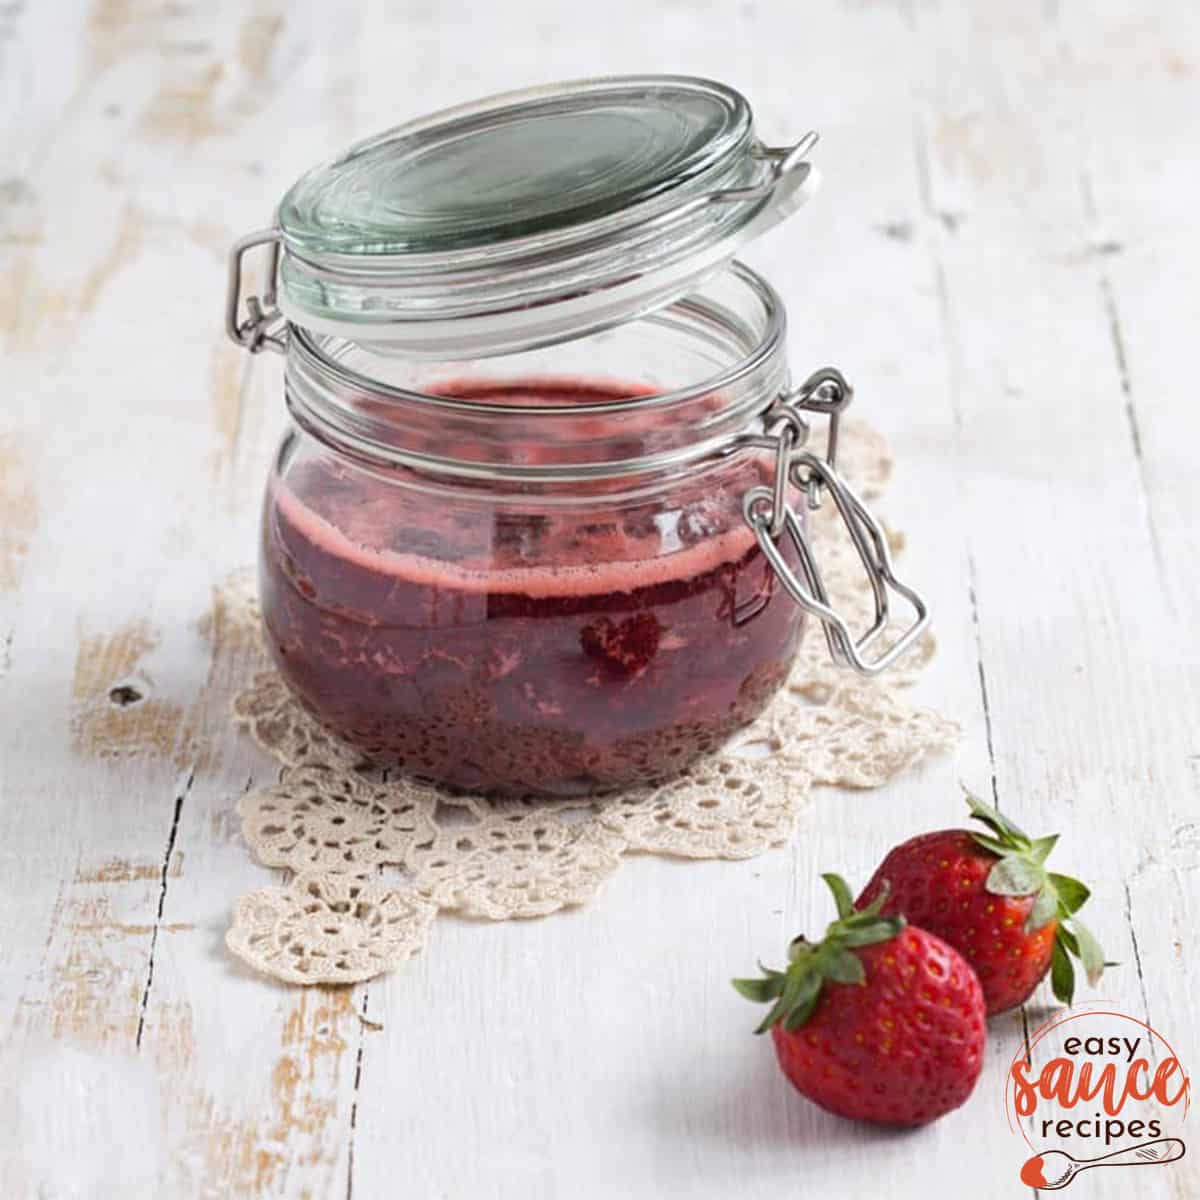
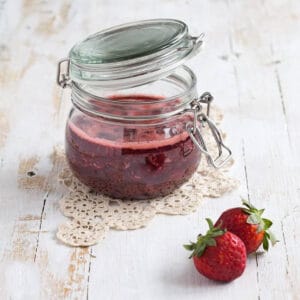
Learn how to make easy, Homemade Strawberry Jam in an hour! No canning or pectin required, simply store this delicious jam in the fridge or freeze the jars for later. And, you only need 4 simple ingredients!
Jump to:
Best Strawberry Jam
There is something about homemade strawberry jam that is so delicious and comforting. It's fun to make, and so much tastier to whip up a jar of jam yourself than using store-bought. And, if you make it yourself, it's ready in just about an hour!
During the summer when all my kids are home, I am always doubling or sometimes even tripling this traditional strawberry jam recipe! Homemade jam always beats anything you can buy at the store, and when you start adding in flavors like vanilla bean, you're really making something special.
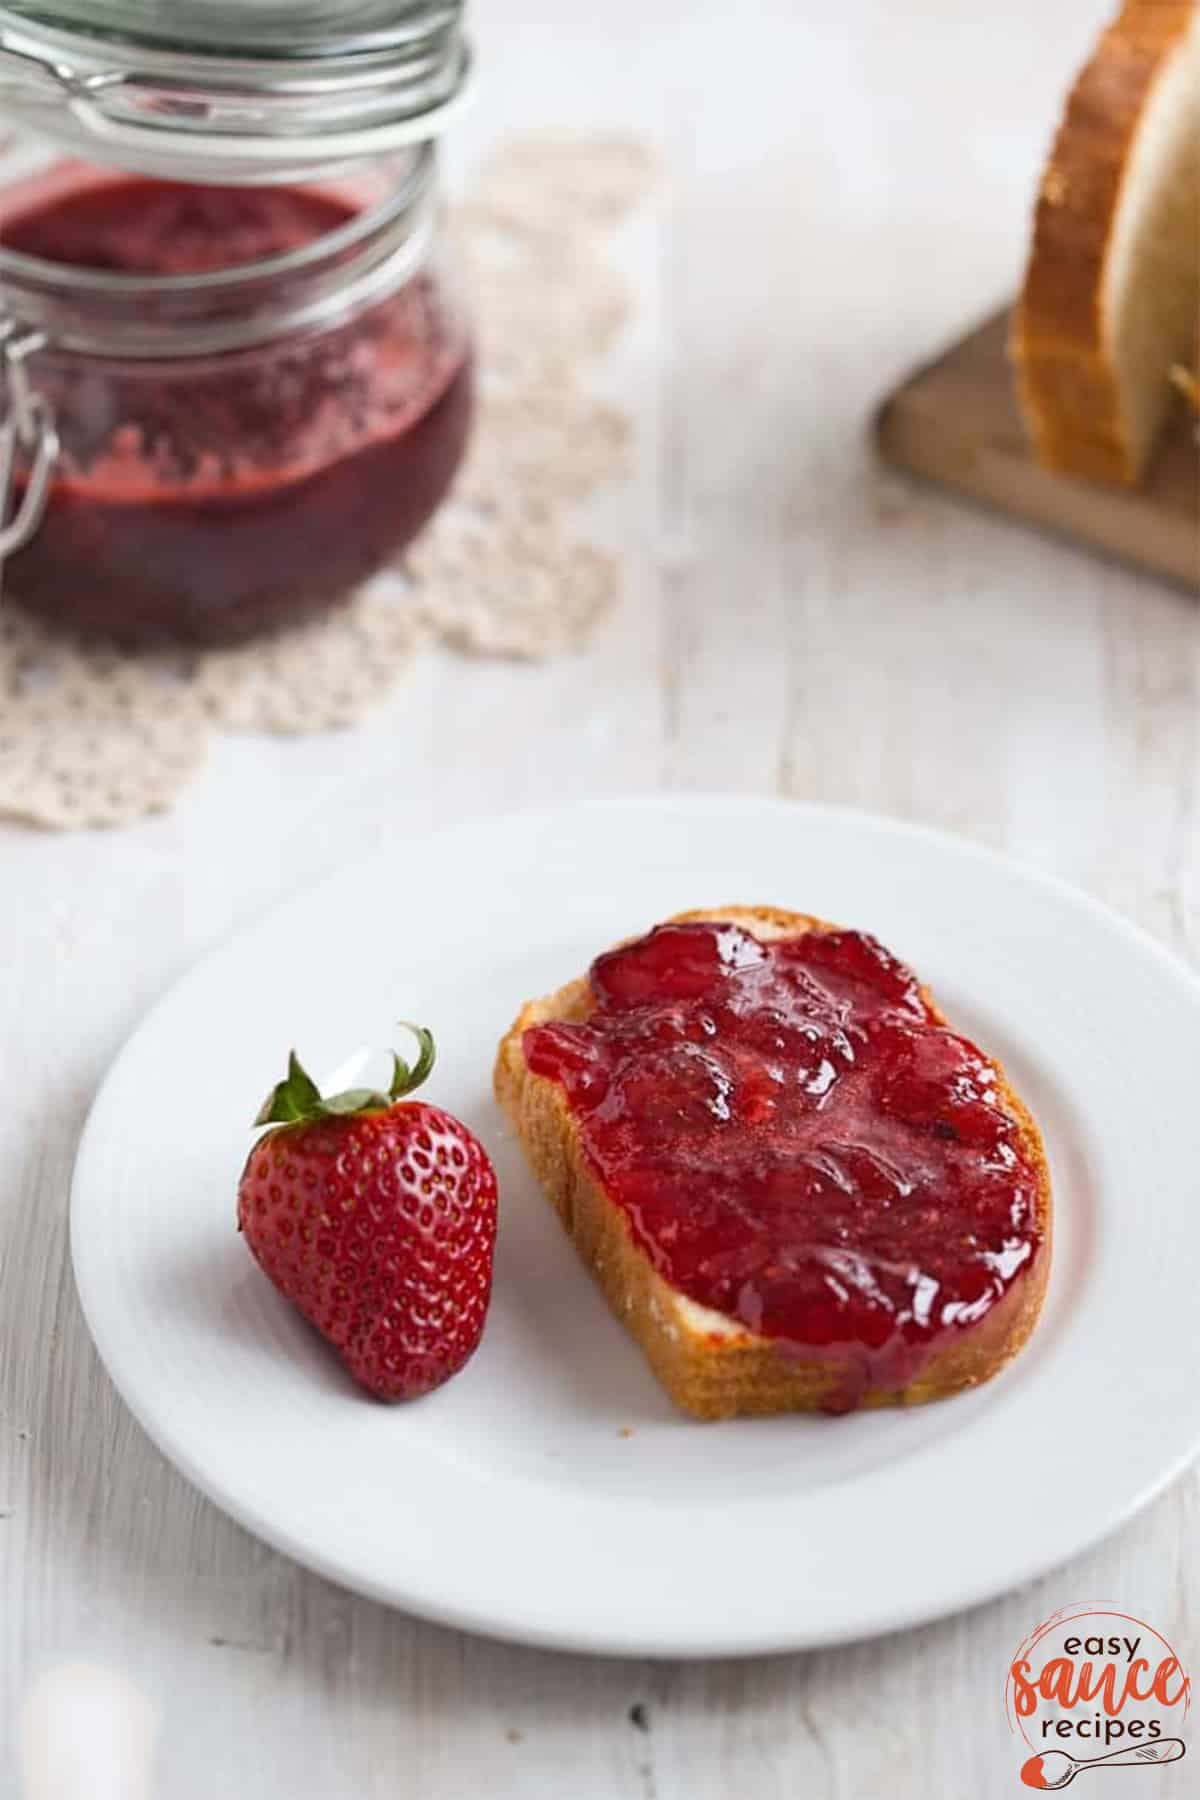
My strawberry jam recipe is a perfect blend of traditional strawberry jam flavors, with the addition of vanilla, which gives it a nice, soft taste perfect for pairing with a simple slice of toast or strawberry jam thumbprint cookies. I know you'll love it!
Strawberry Jam FAQs
You can freeze homemade jam for up to 6 months if you're not using the jarring method in the instructions. Allow your jam to cool, then transfer to freezer-proof containers, seal, and label with the date. Make sure to leave a bit of room at the top of the container (about an inch or so) to account for liquid expansion.
My strawberry jam recipe only calls for strawberries, with no need for pectin. You can make strawberry jam without pectin by using citric acid and sugar.
The easiest way to know if your jam is done is by checking the temperature with a thermometer. You will want the jam to reach 221°F, so make sure to have an instant read thermometer on hand to check the temperature of the jam.
Strawberry Jam Ingredients
- Strawberries
- Sugar
- Vanilla bean
- Citric acid
How to Make Strawberry Jam for Jarring
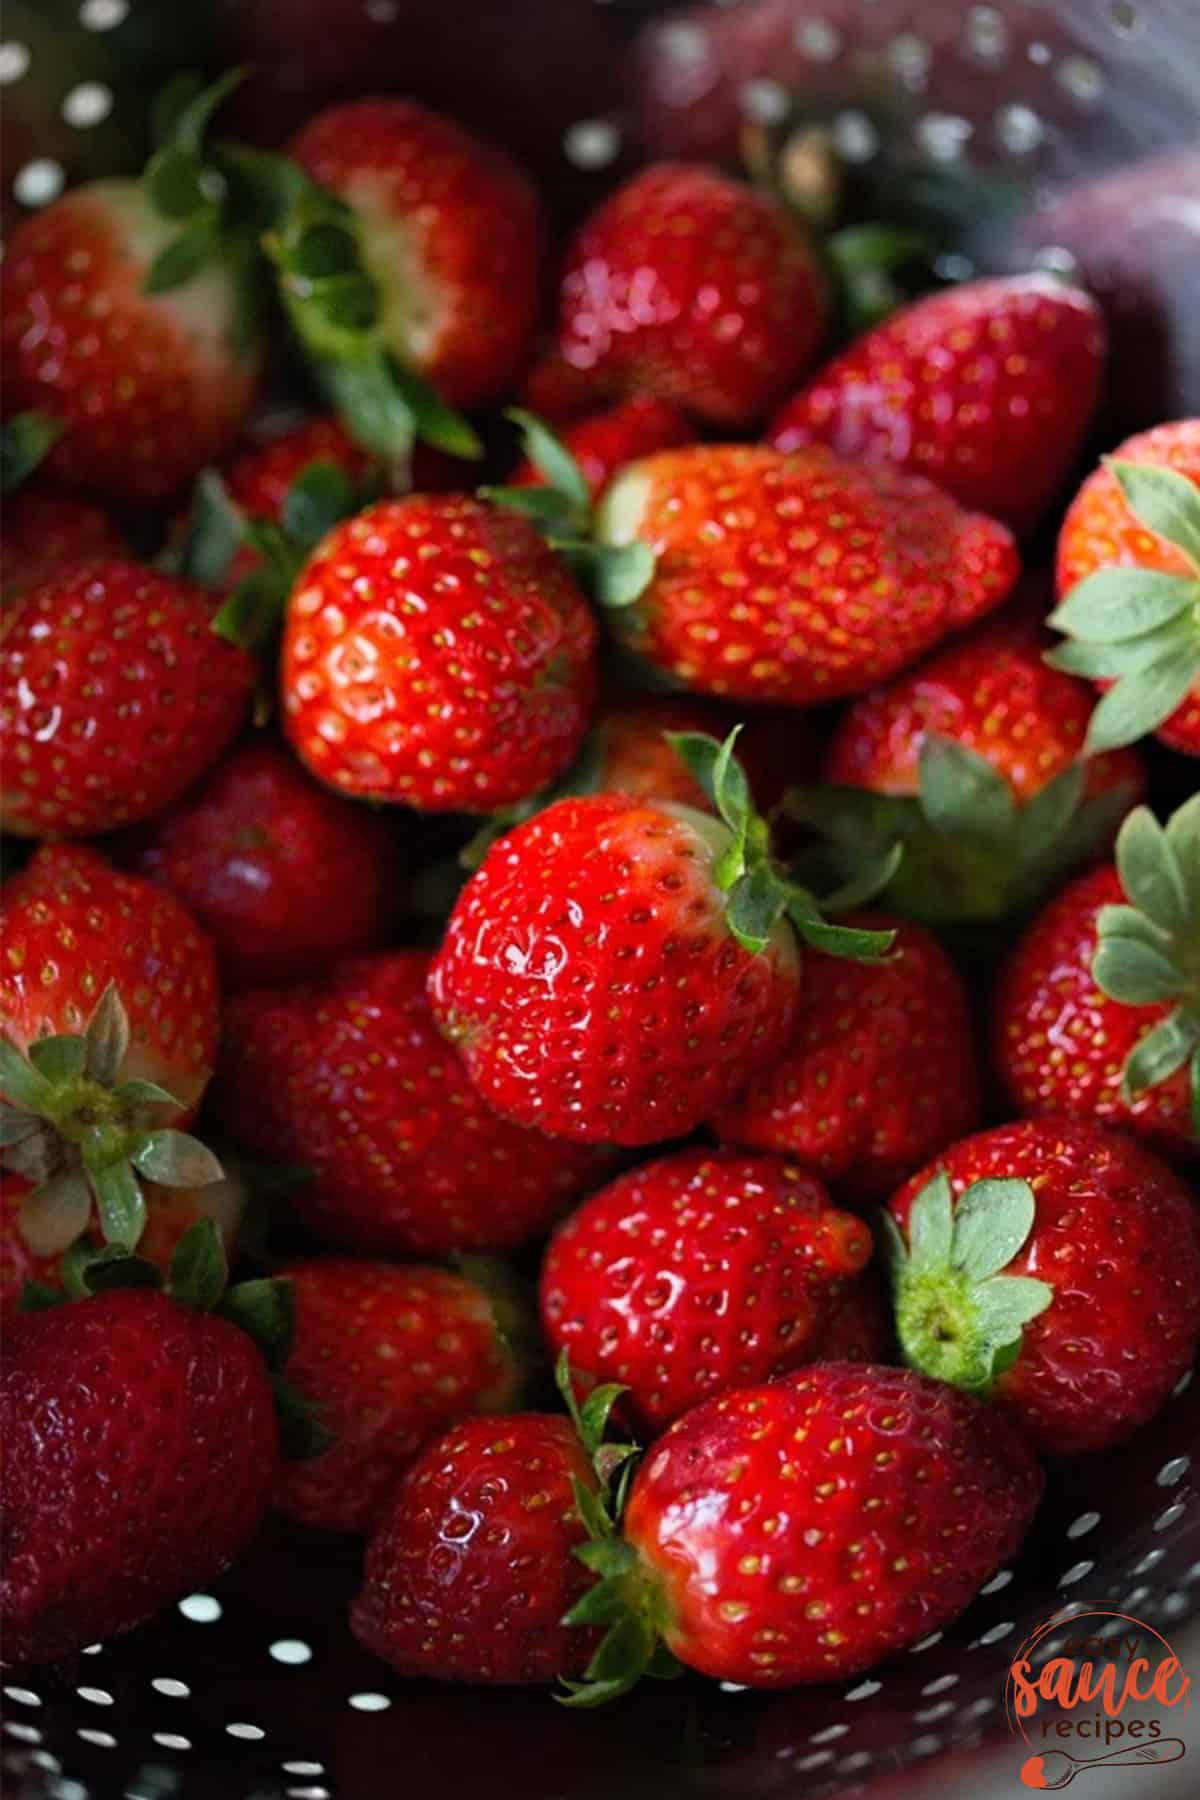
- Wash and clean strawberries very well, removing the stems. Chop smaller berries into fourths, and larger berries into eighths.
- Wash 2 small glass jars and their lids. Keep the jars in a warm place, or in an oven heated to 200°F. By warming the jars, you prevent them from breaking when pouring in the hot jam. It is very important you do not skip this step if you plan to can the jam.
- In a large pan over medium heat, combine the chopped strawberries with sugar. With a knife, split the vanilla bean lengthwise and scrape out the seeds. Add both the seeds and the bean to the strawberry mixture. Whisk occasionally until it starts simmering, then lower the heat slightly and let it simmer for 40-60 minutes. Stir occasionally so the jam doesn't burn on the bottom of the pan.
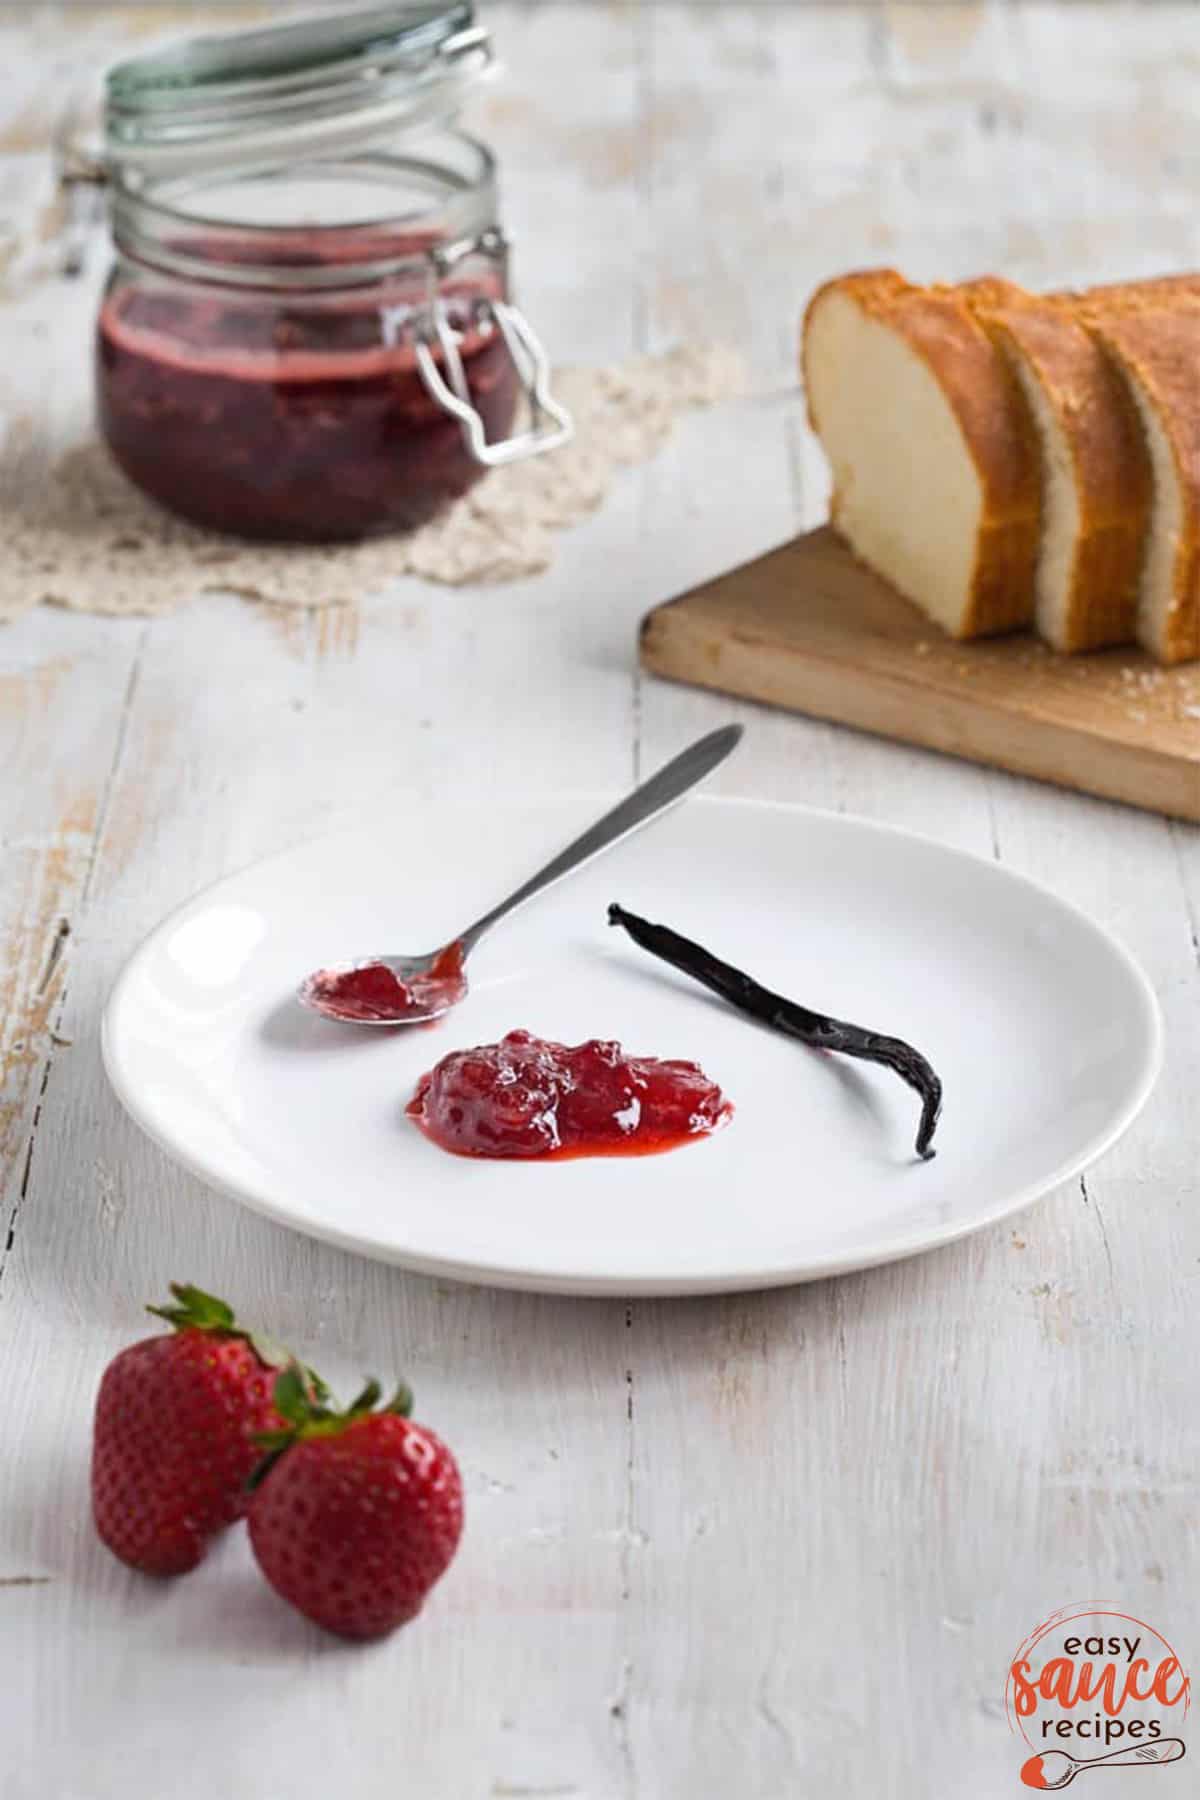
- After 40-60 minutes, test the jam by dropping a bit of juice from the pan on a plate. If it doesn't spill around when the plate is moved, the jam is ready.
- Once the jam is ready, add a pinch of citric acid. Stir and remove the pan from the heat.
- Fill the warmed jars with the hot jam almost to the top, then immediately close them tightly with the lids. Place them on the kitchen counter upside-down. This ensures the lids are perfectly sealed. Let the jars remain upside-down until they cool to room temperature.
- Keep the sealed jars in a dry place at room temperature for up to a year. After opening the jar, keep it in a cool place.
You can also make homemade jam without following the method to add the jam to jars, saving yourself some time but lowering the shelf life of the jam to 3 weeks. To do this, simply follow the instructions for cooking the jam without heating the jars, let the jam cool, then add it to your jars with a ladle and store in the refrigerator.
Recipe Tips
- How to hull a strawberry: Stick a straw through the bottom of the berry and push it through the top. You will see the green tops starting to pop off.
- Cut your strawberries: It's so worth it to cut your strawberries into small pieces. If you use larger pieces you will end up with a much chunkier jam, so cut them small.
- Avoid using a cast iron, non-enameled skillet or pot. These can transfer flavors into the jam.
- Stir frequently! As the jam cooks, it can easily start to burn at the bottom of the pan. Stirring the jam frequently will ensure no burning!
How to Store Strawberry Jam
- Refrigerator: store in an air-tight sealed container for up to 3 weeks.
- Freezer: store in a freezer-safe sealed container for up to 6 months.
If you're canning the jam using the method above, it will last for up to 1 year if properly sealed.
Uses for Strawberry Jam
- Spread on toast, biscuits, or croissants
- Spoon onto pancakes or waffles
- Stir into yogurt
- Swirl into cheesecake before baking
- Sandwich between layers of cake
Sweet Sauce Recipes
Try more of my easy sauce recipes:
📌 Pin it for later!
Did you enjoy this page? Save it on Pinterest for later!Did you try this recipe? Let us know what you think in the comments below or send us an email! We love to hear from you.
📖 Recipe
Easy Strawberry Vanilla Jam
Equipment
- 2 small glass jars
- 1 large saucepan
Ingredients
- 21 ounces fresh strawberries about 1.5 pints or 600g
- 1.5 cups granulated sugar 300g
- 1 vanilla bean
- 1 pinch citric acid
Instructions
- Wash and clean strawberries very well, removing the stems. Chop smaller berries into fourths, and larger berries into eighths.
- Wash 2 small glass jars and their lids. Keep the jars in a warm place, or in an oven heated to 200°F. By warming the jars, you prevent them from breaking when pouring in the hot jam. It is very important you do not skip this step if you plan to can the jam.
- In a large pan over medium heat, combine the chopped strawberries with sugar. With a knife, split the vanilla bean lengthwise and scrape out the seeds. Add both the seeds and the bean to the strawberry mixture. Whisk occasionally until it starts simmering, then lower the heat slightly and let it simmer for 40-60 minutes. Stir occasionally so the jam doesn't burn on the bottom of the pan.
- After 40-60 minutes, test the jam by dropping a bit of juice from the pan on a plate. If it doesn't spill around when the plate is moved, the jam is ready.
- Once the jam is ready, add a pinch of citric acid. Stir and remove the pan from the heat.
- Fill the warmed jars with the hot jam almost to the top, then immediately close them tightly with the lids. Place them on the kitchen counter upside-down. This ensures the lids are perfectly sealed. Let the jars remain upside-down until they cool to room temperature.
- Keep the sealed jars in a dry place at room temperature for up to a year. After opening the jar, keep it in a cool place.
Notes
- How to hull a strawberry: Stick a straw through the bottom of the berry and push it through the top. You will see the green tops starting to pop off.
- Cut your strawberries: It's so worth it to cut your strawberries into small pieces. If you use larger pieces you will end up with a much chunkier jam, so cut them small.
- Avoid using a cast iron, non-enameled skillet or pot. These can transfer flavors into the jam.
- Stir frequently! As the jam cooks, it can easily start to burn at the bottom of the pan. Stirring the jam frequently will ensure no burning!
- Carbonara Sauce - October 7, 2023
- Honey Garlic Sauce - September 6, 2023
- Avocado Crema Recipe - September 6, 2023


Comments
No Comments